Chances are you’ve probably seen those pretty jade and rose quartz rollers all over Instagram that everyone seems to be using these days. And what about those flat, oddly shaped crystals that people are rubbing all over their faces too? Well, those are called Gua Sha tools and maybe you’ve asked yourself if you should also be using one—even though you might not even know what it actually does or how to use it. Well, that’s where we come in! Here’s a quick guide that’ll let you know 1. what the heck a gua sha tool is 2. if you should be using it and 3. how exactly to give it a try.
What Is It?
Gua Sha (pronounced gwah-sha) actually translates into “scraping”, so the gua sha tool is meant to be gently scraped across the skin (either on your face or body) to help combat inflammation, break down tension, move lymph and promote circulation. They’ll typically be made out of rose quartz or jade and come in various different shapes. According to ancient Chinese medicine, chi flows through our bodies, and if it becomes blocked you can experience pain, tension or muscle soreness—so, the gua sha tool is supposed to help increase the flow of chi, and in turn, make you feel better!
What Does It Do?
Like stated before, the gua sha tool is used to combat inflammation, break down tension, move lymph and promote circulation—all of which can do wonders for your skin. For example, when you promote circulation on your skin, this can actually help with your skin's natural healing process, which is why so many people have claimed to see such visible benefits from using a gua sha tool or jade roller. People have also claimed it has helped reduce puffiness, help lift and plump the skin, as well as help prevent wrinkles and get rid of acne scarring. Some have also claimed that it can help your serums soak into the skin better or quicker since you’re rubbing it in much more than you usually would. It’s also a great way to help relieve TMJ (Temporomandibular joint dysfunction) or any other jaw soreness if that’s something you suffer from.
How Do You Use It?
Using a gua sha tool for the first time can seem pretty intimidating, but it’s actually pretty easy! If you look it up online, there are so many different ways to do it and it really depends on your personal preference, your face shape and also what shape gua sha tool you’re using. And like many beauty routines, we think it’s best to go with what feels good for you. But, we’ve included some easy tips to remember below—
- Use gentle strokes! You don’t need to be very harsh for this to still be effective. Your skin may get slightly pink, which is normal, but you don’t want it to get too red since you may risk bruising your face!
- Always move in an out and upward motion, away from the center of your face, until you’re finished with the massage and ready to “dump” the lymph down your neck. If this sounds insane, we promise it’ll all make sense when we explain the step by step guide below.
- Wash your gua sha! This may be personal preference, but give it a good rinse after each use to ensure it’s clean before your next massage.
- Pop your gua sha in the freezer if you really want to help soothe any inflammation. This also just feels very refreshing, especially in the hot summer months!
Step By Step Guide:

There are a few different ways to do this since it really is all about personal preference. For example, you can follow all the steps below and start on one side of your face and then repeat the process on the other side or you can do it all at once and do both sides of your face during each step. It’s really up to you!
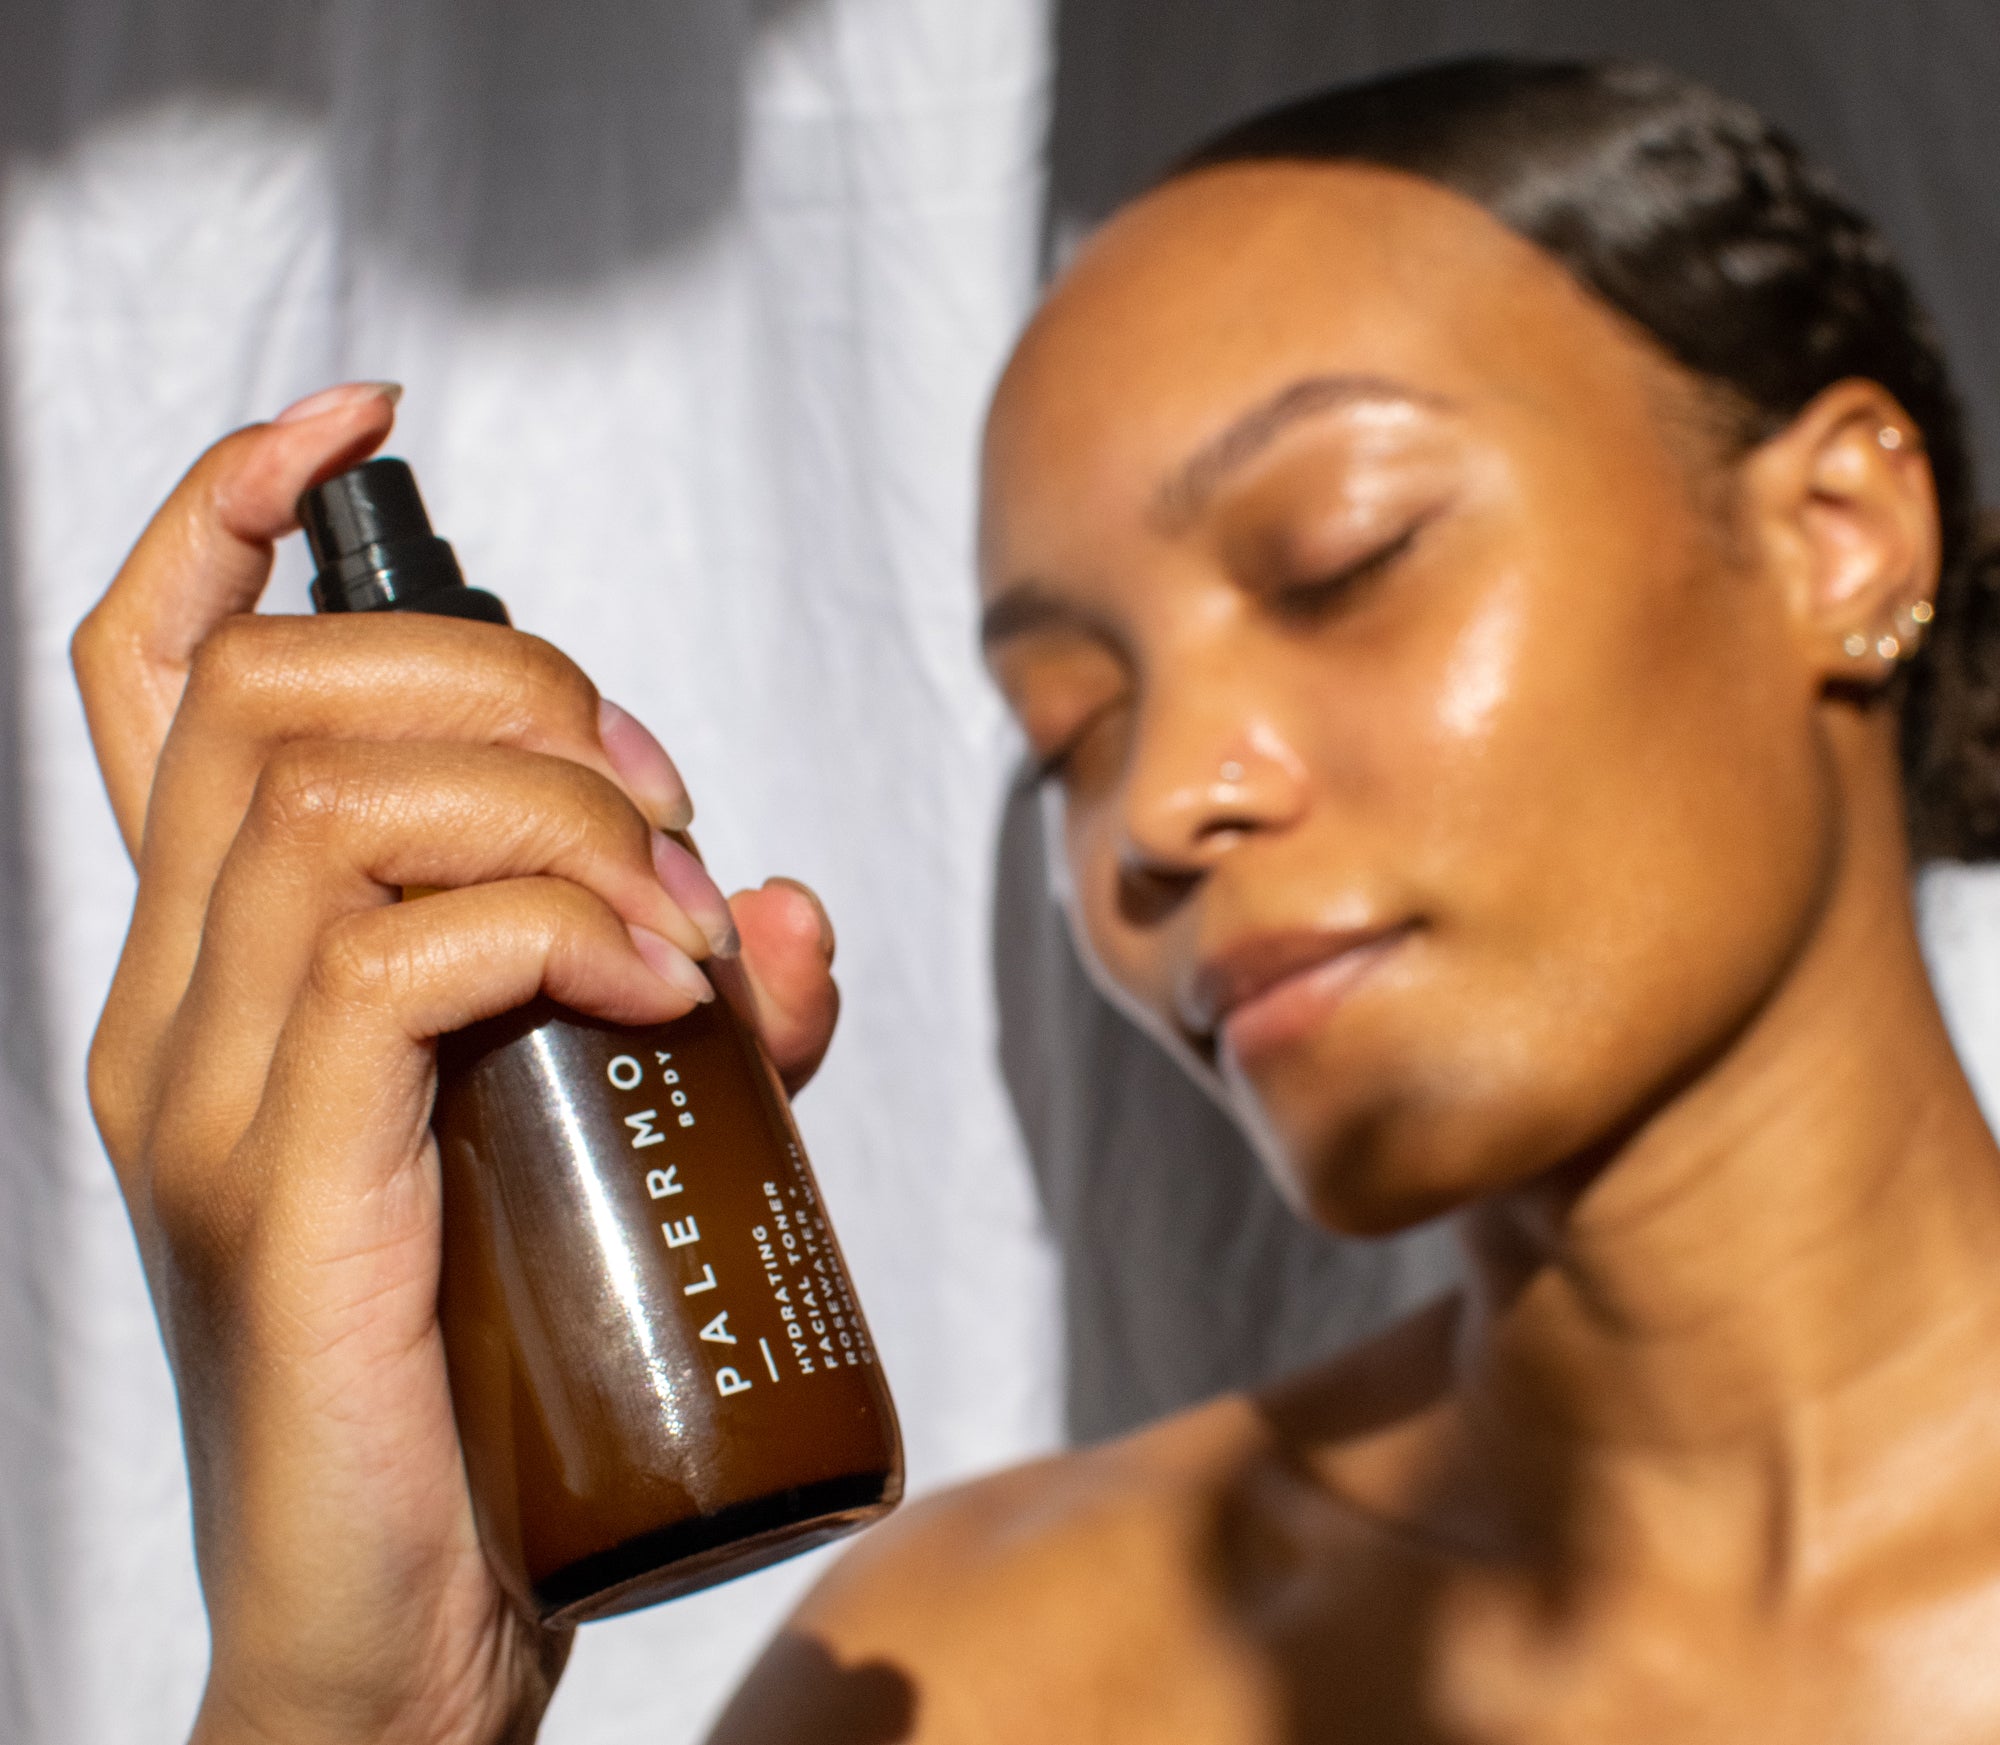
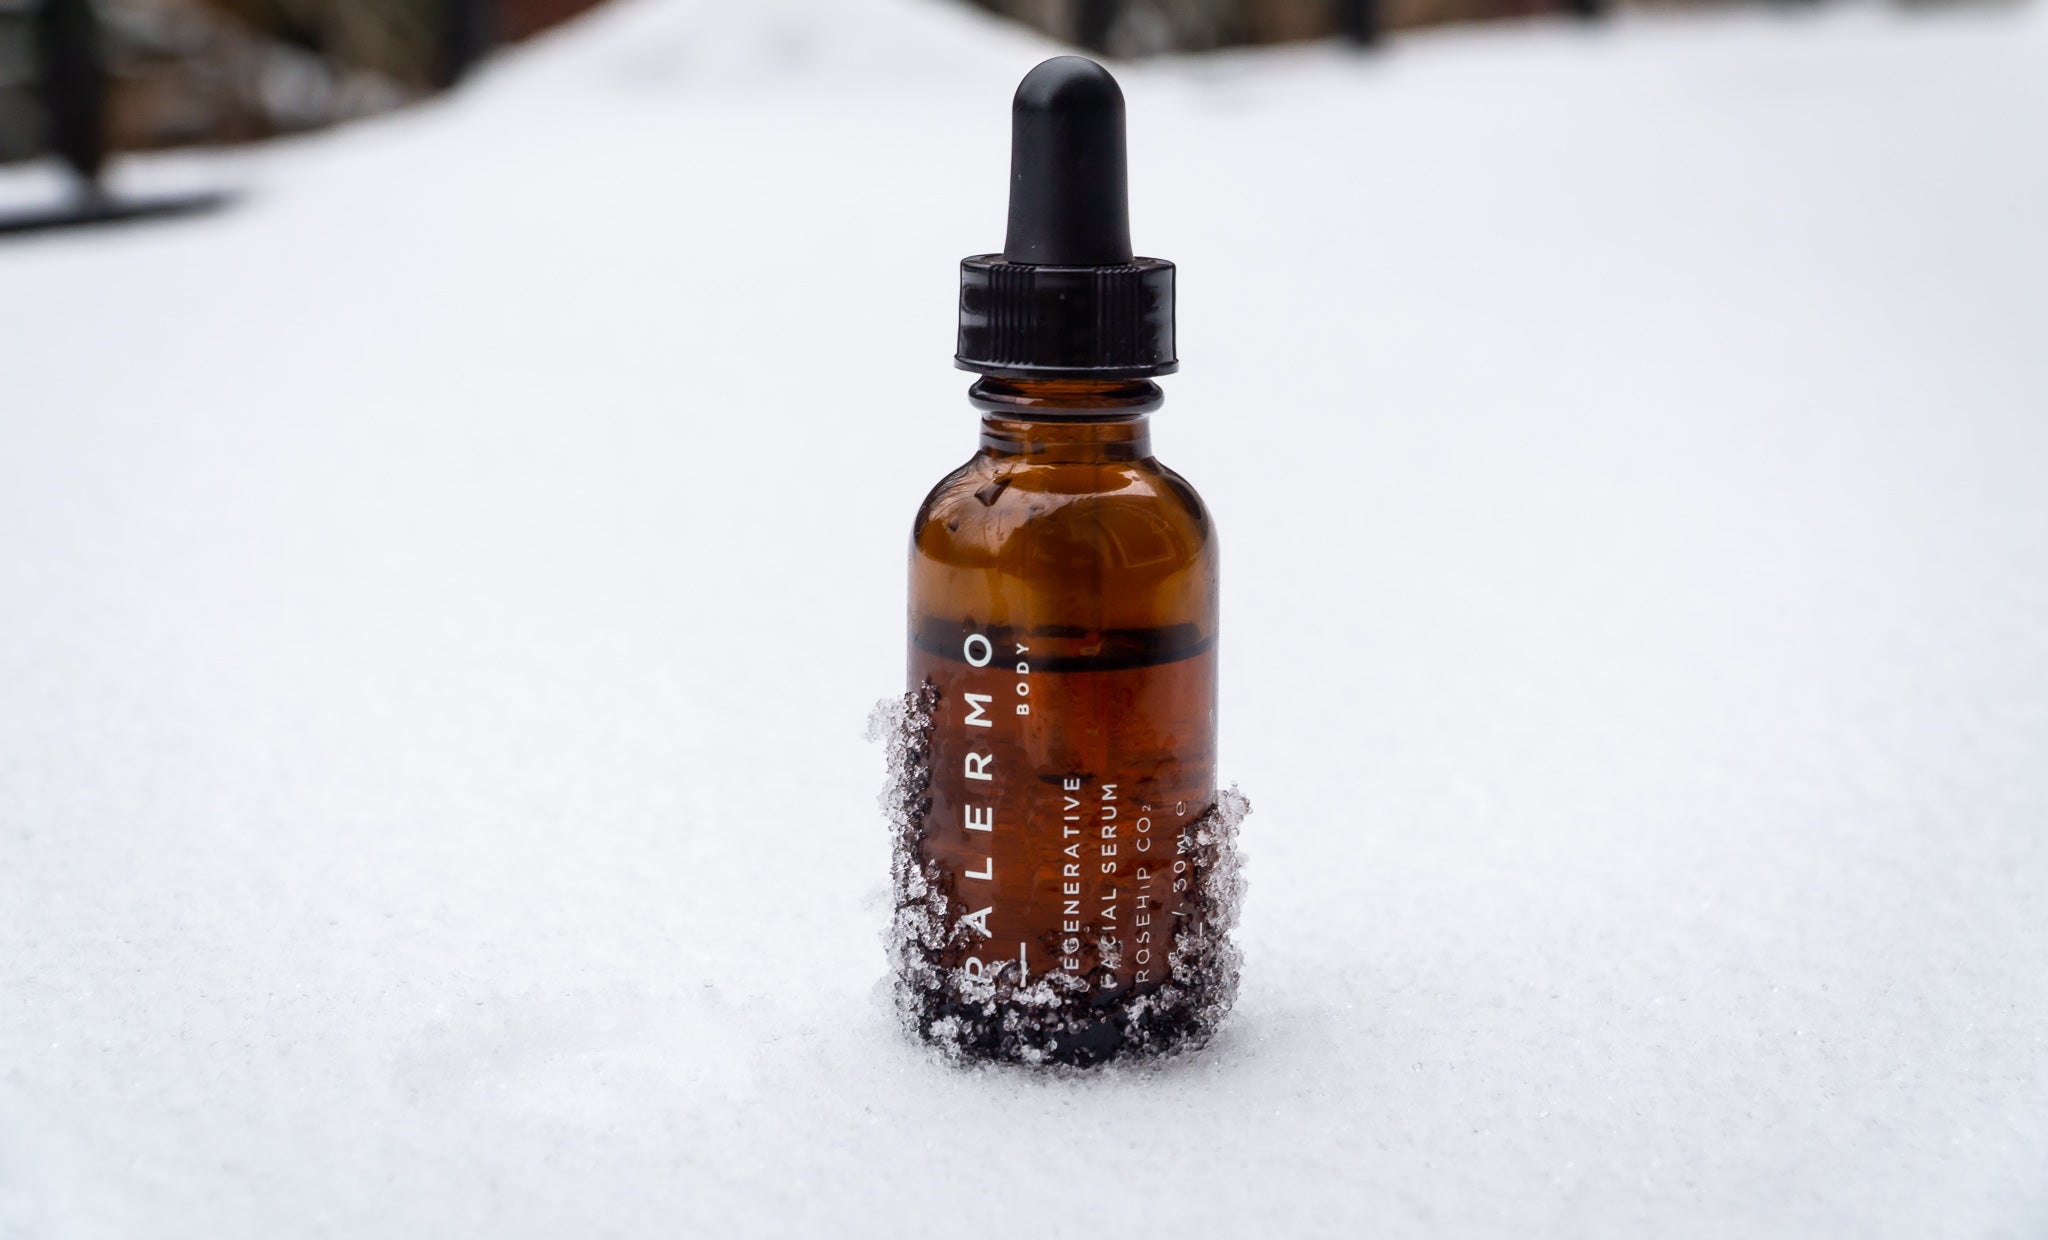
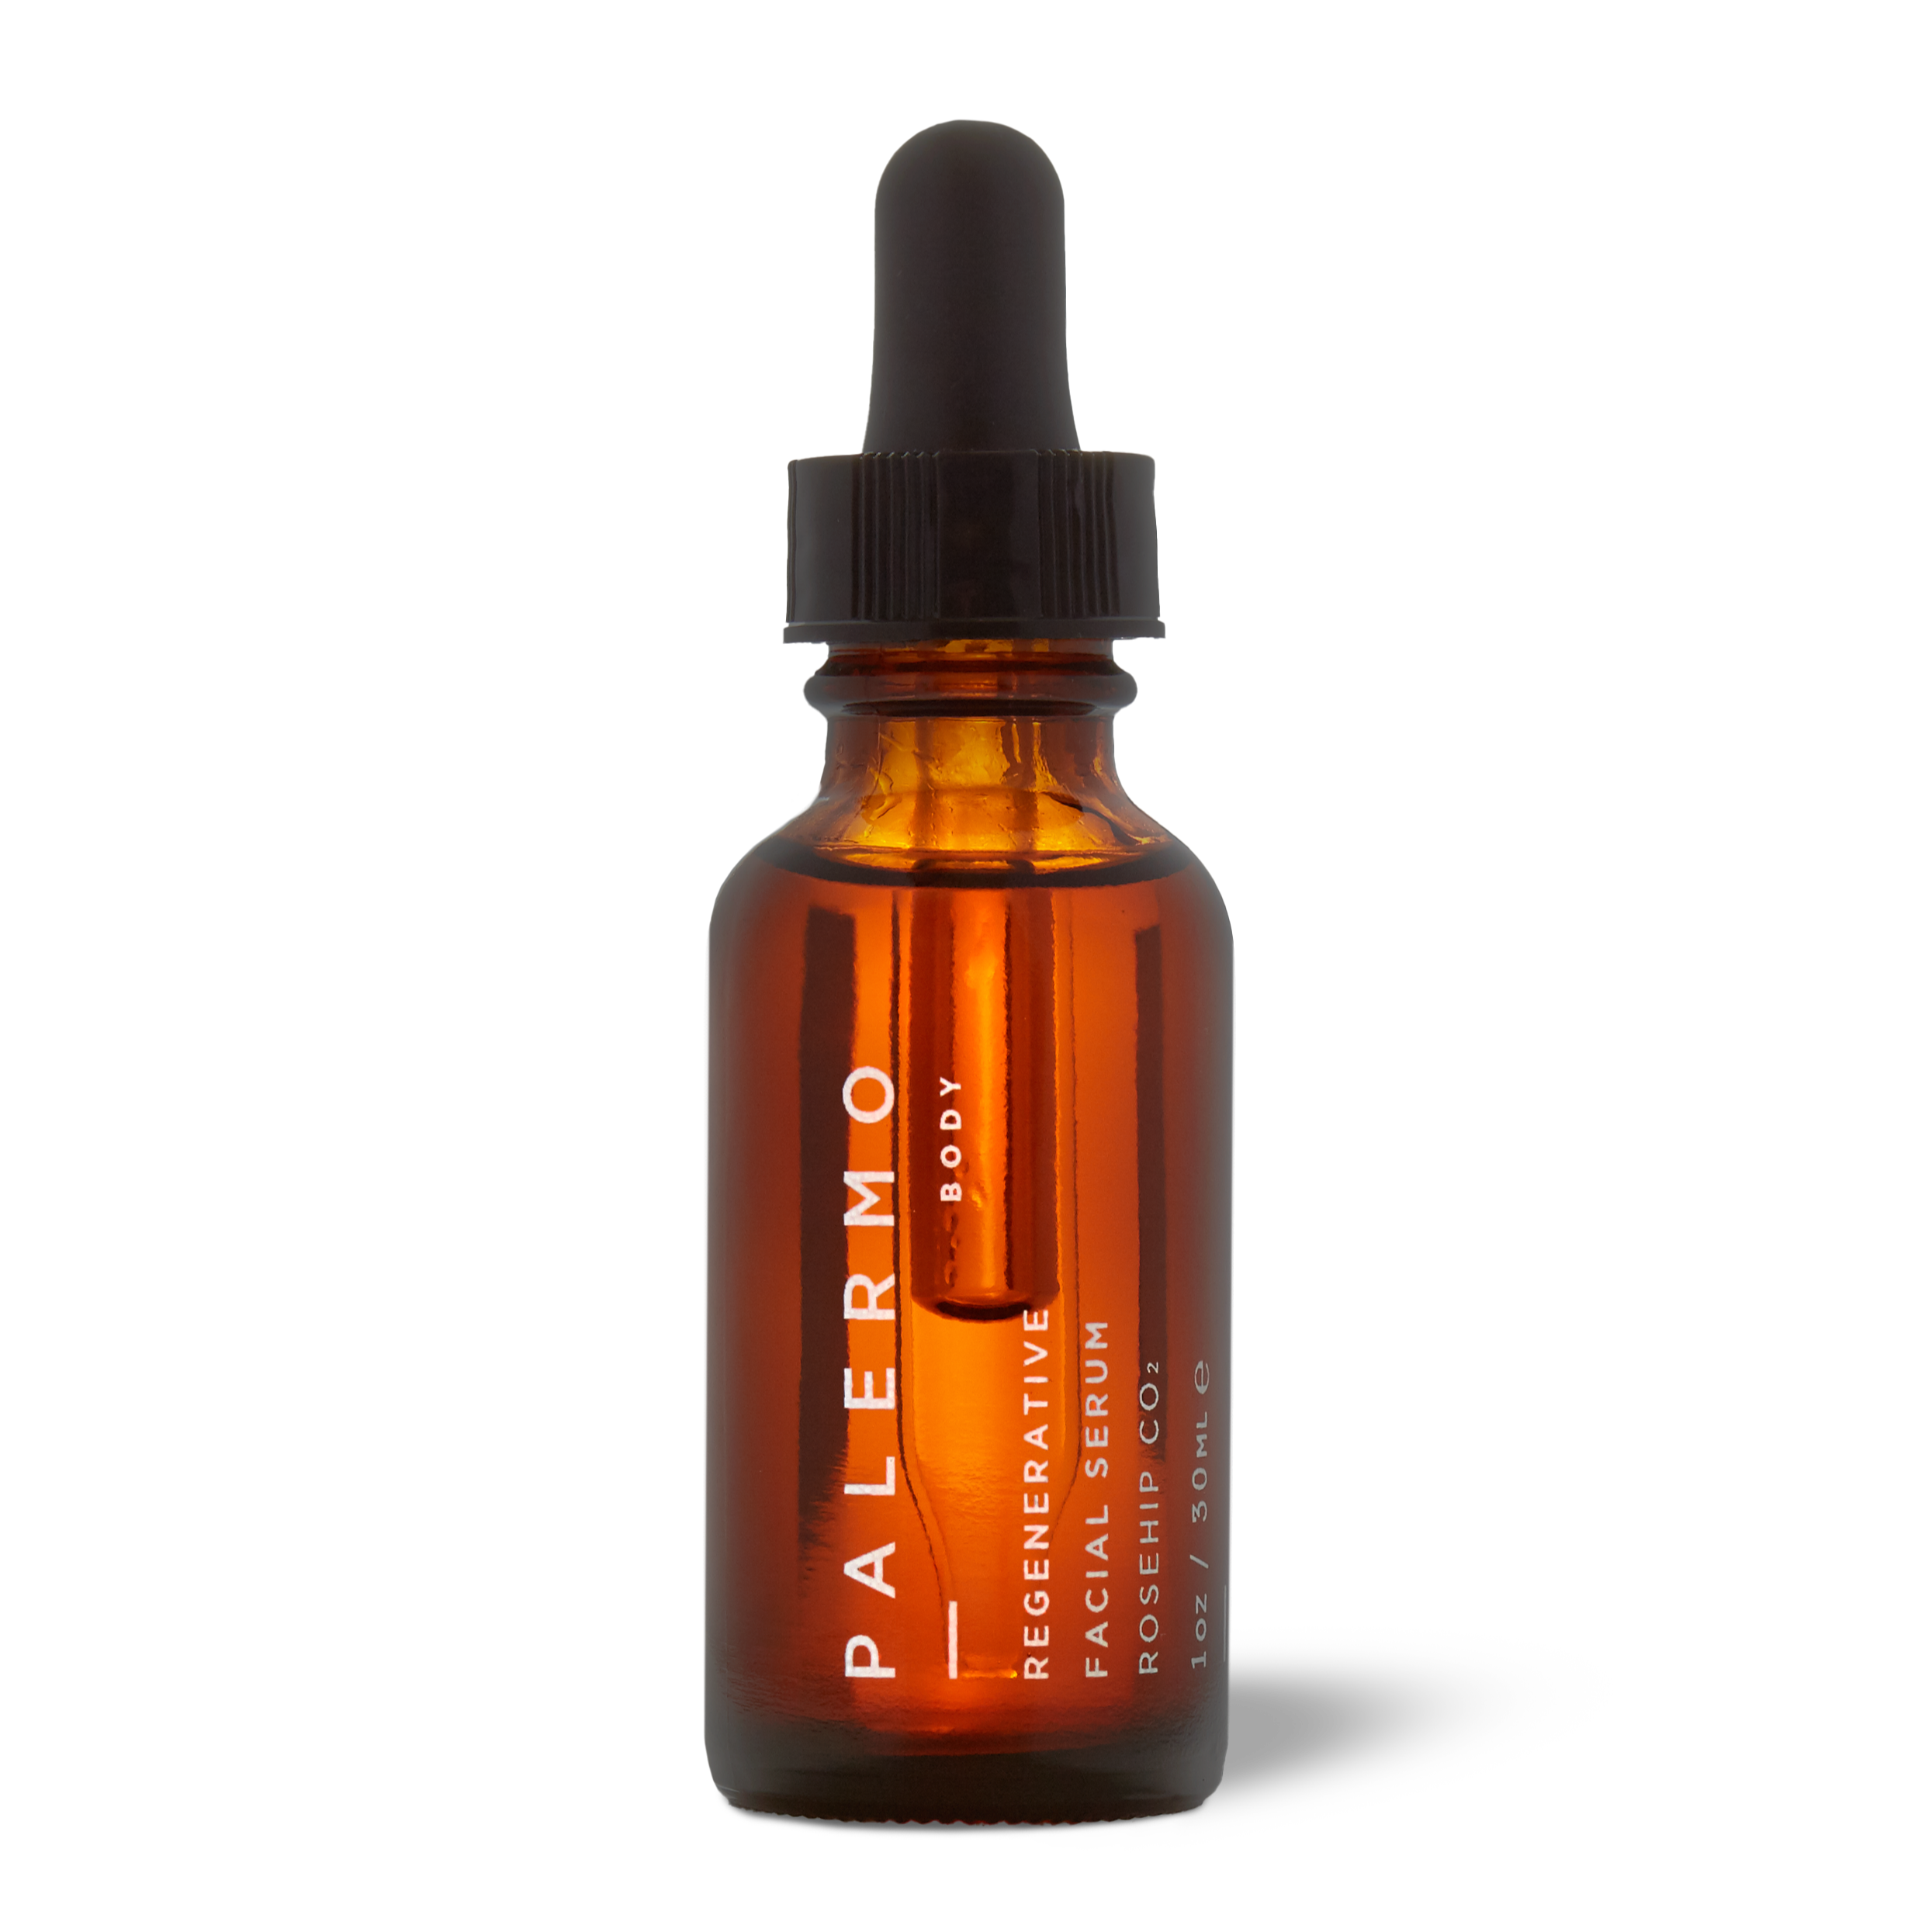
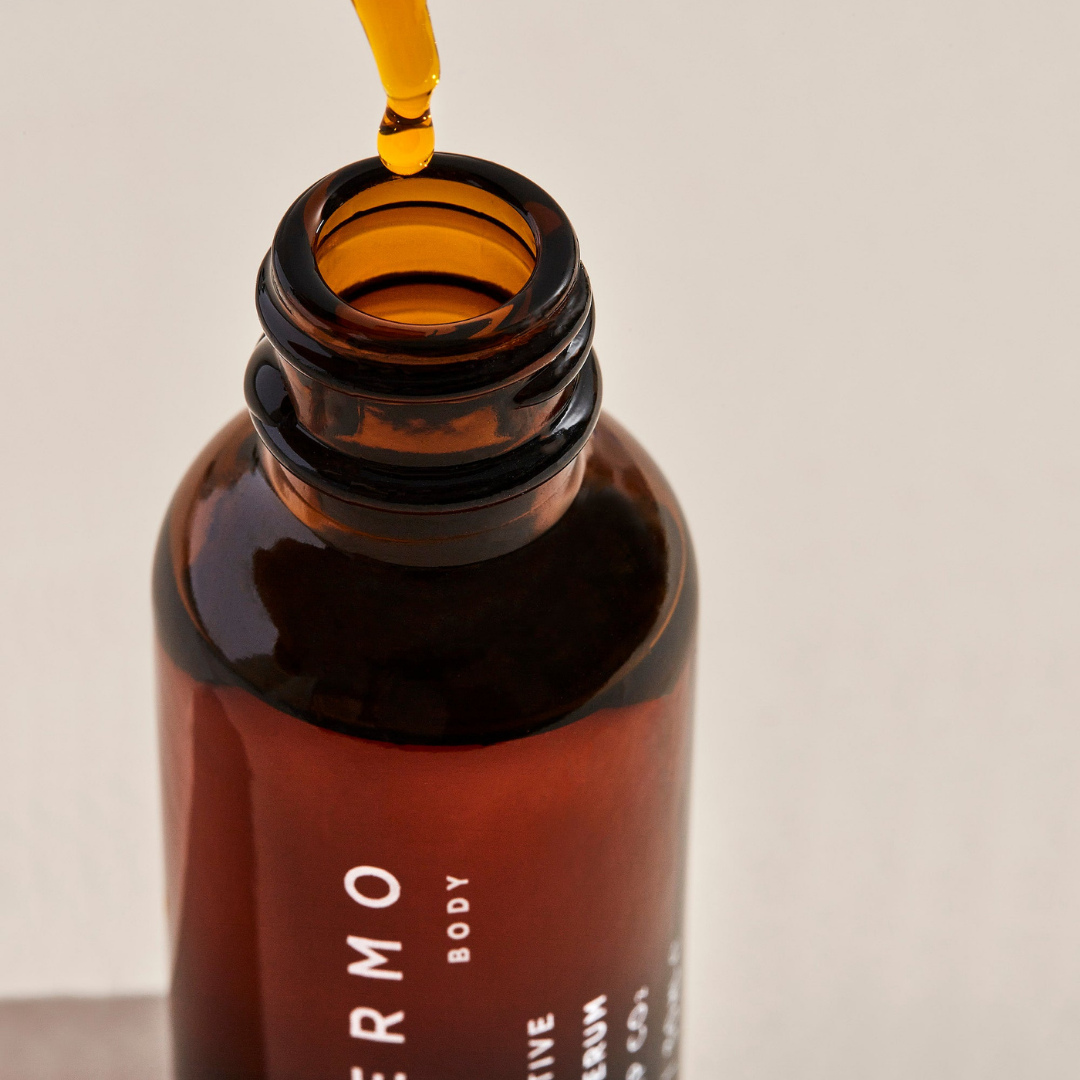
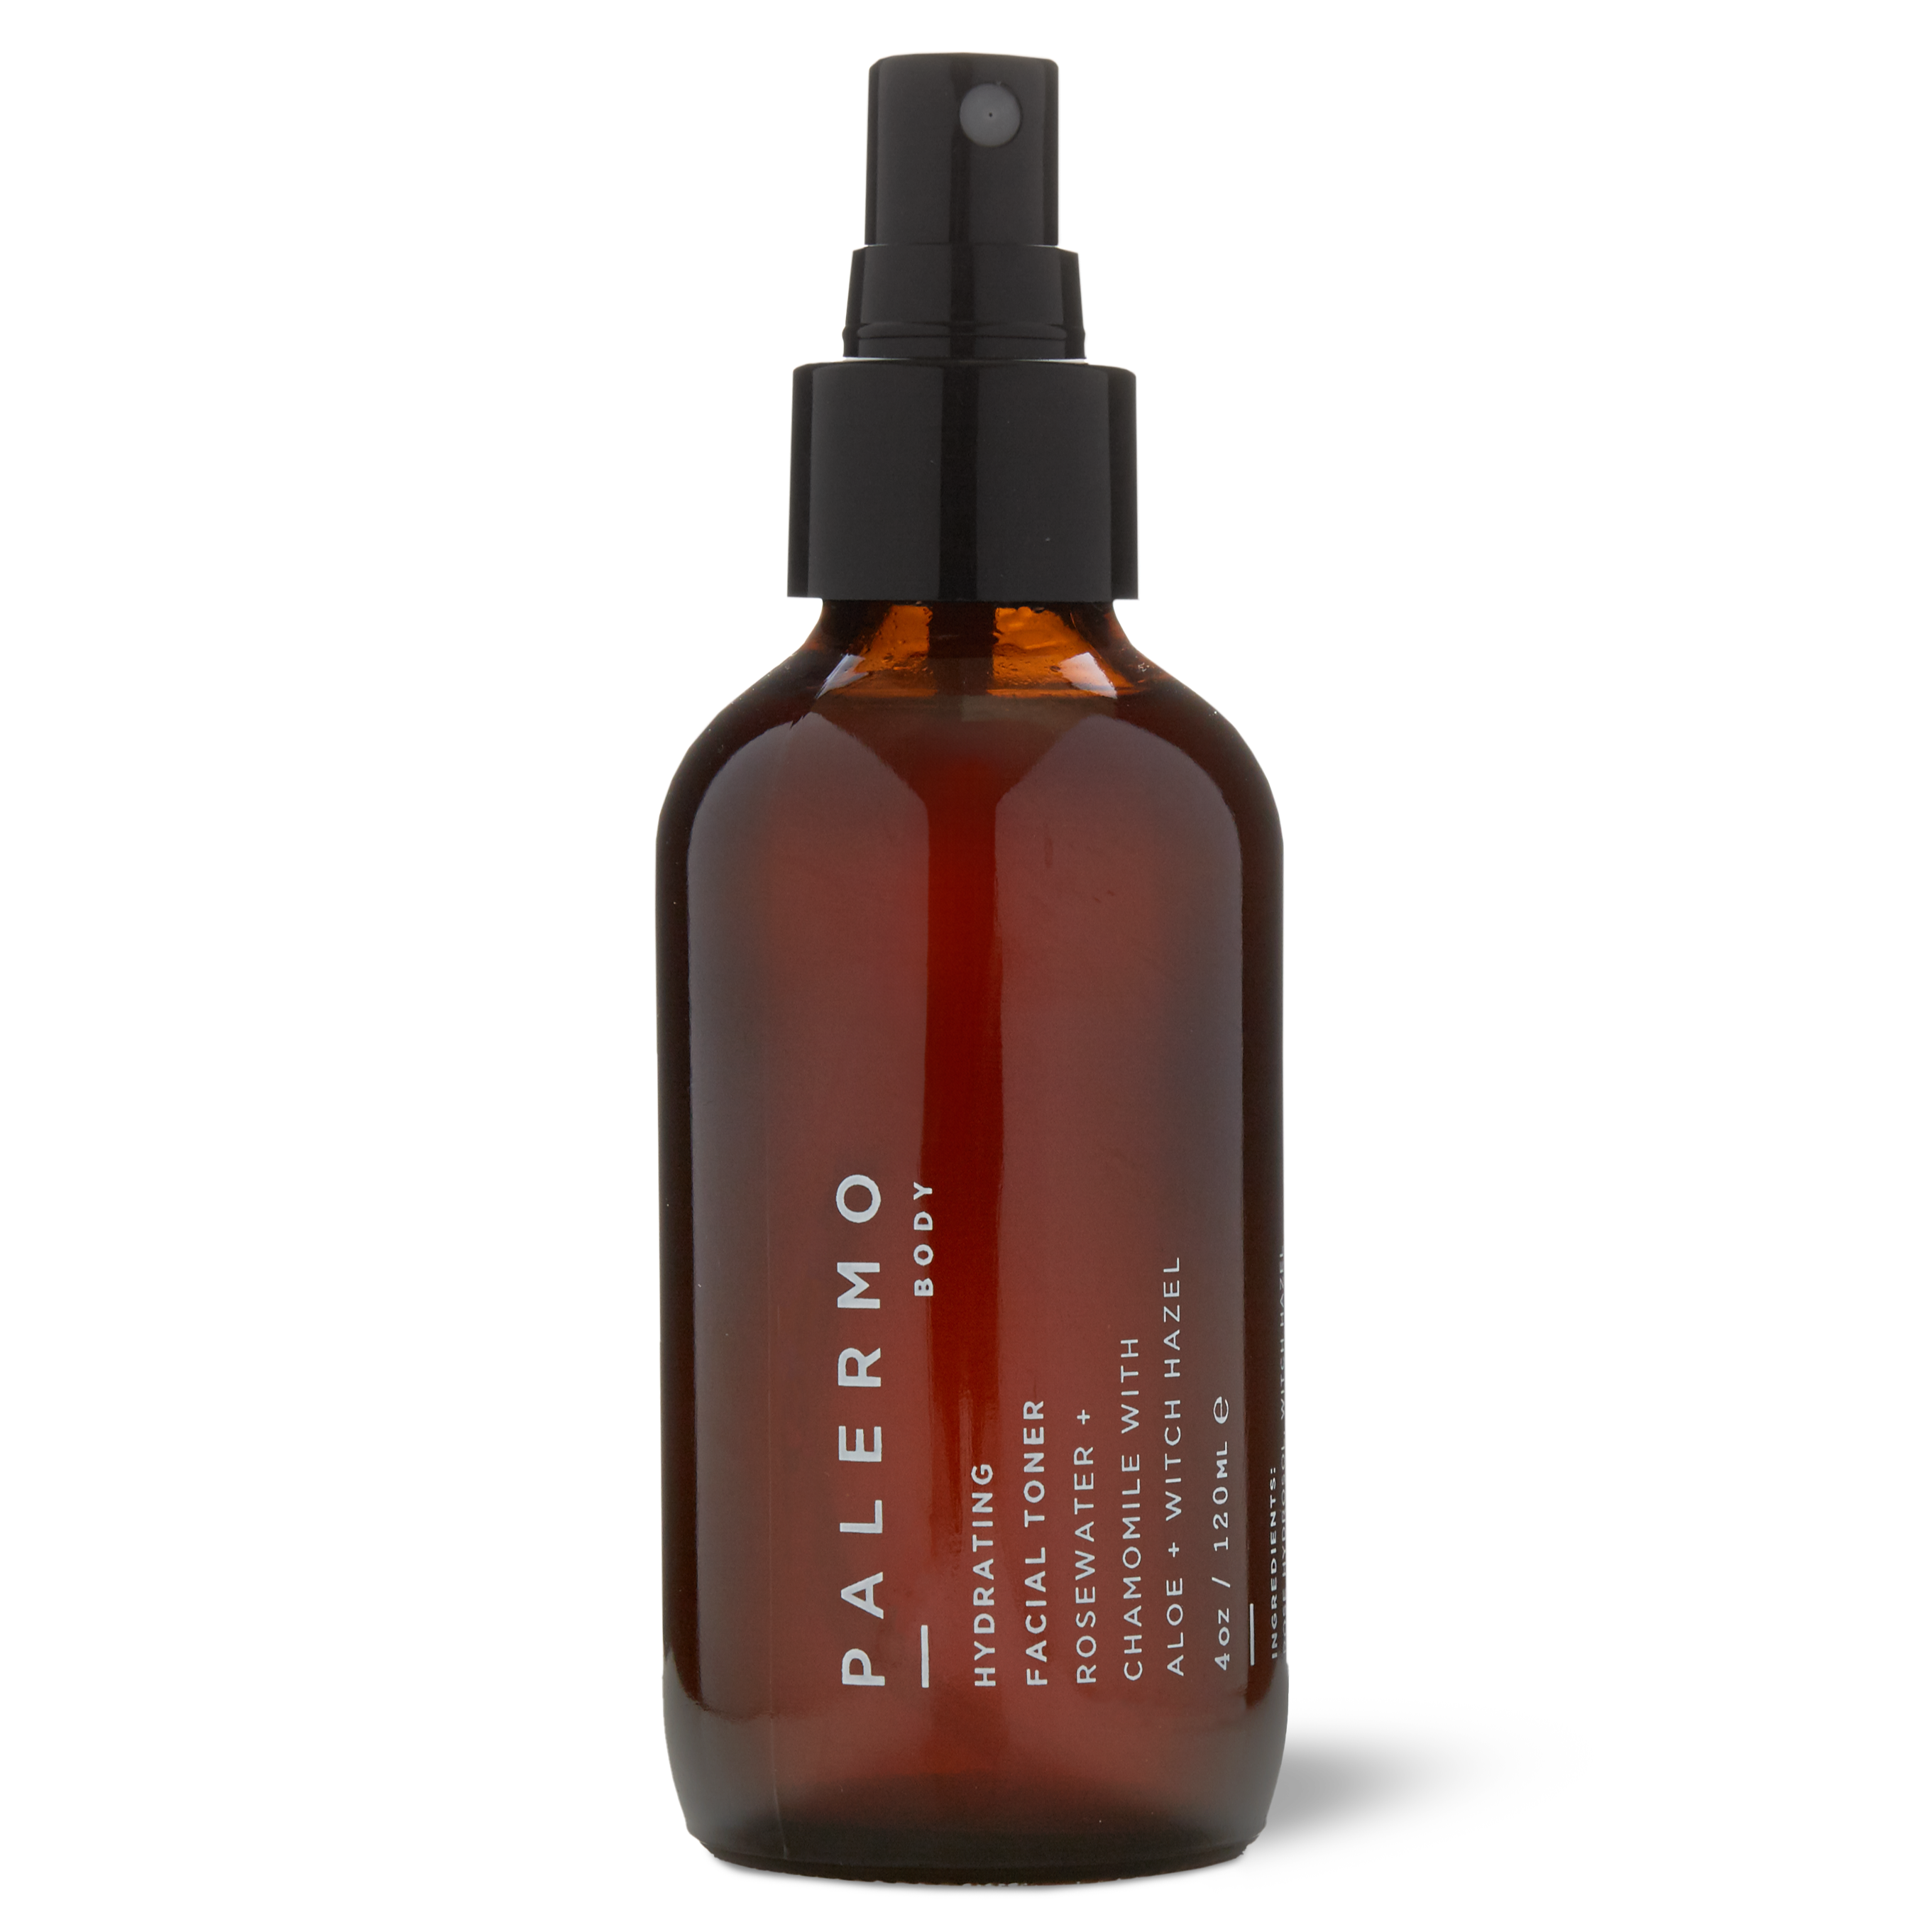
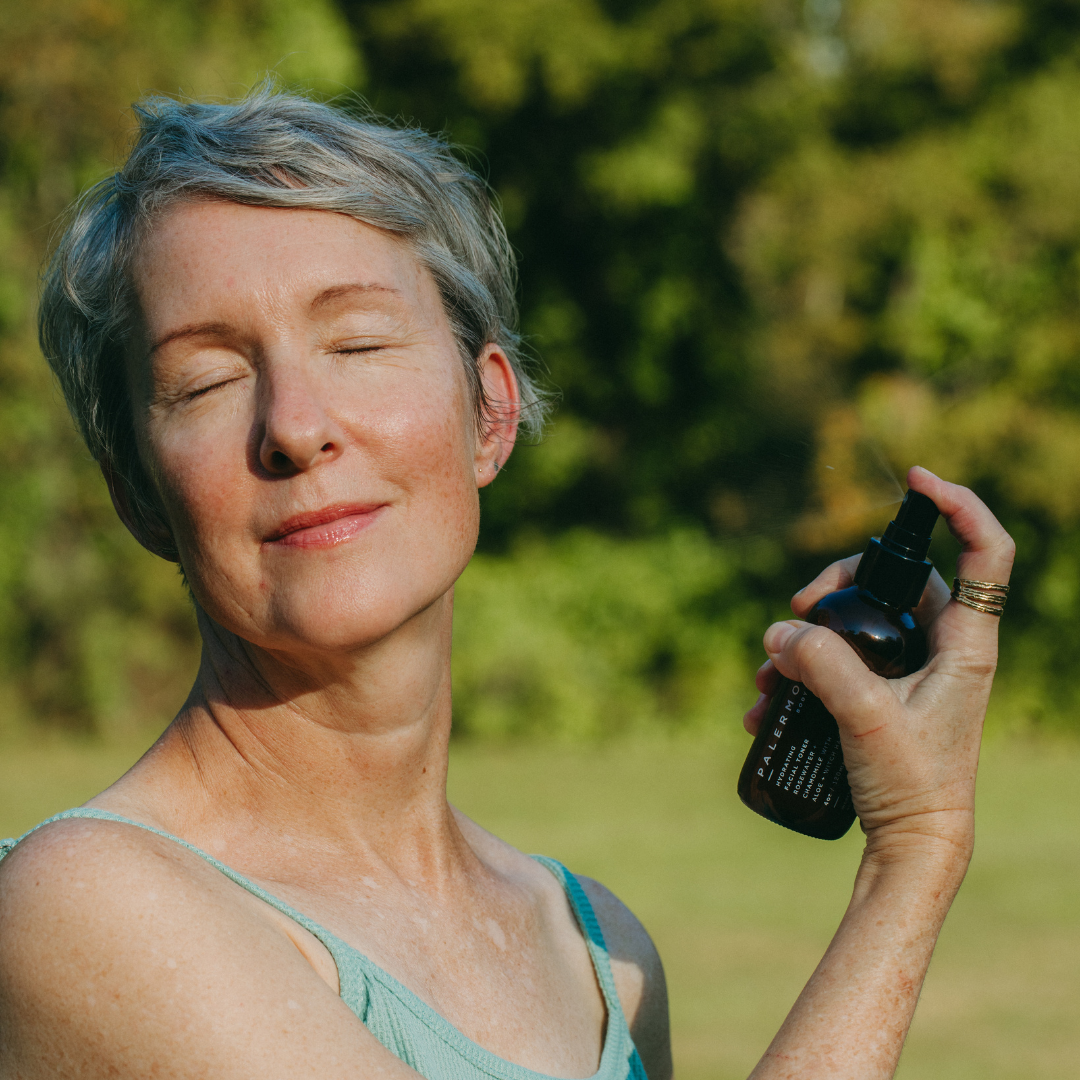
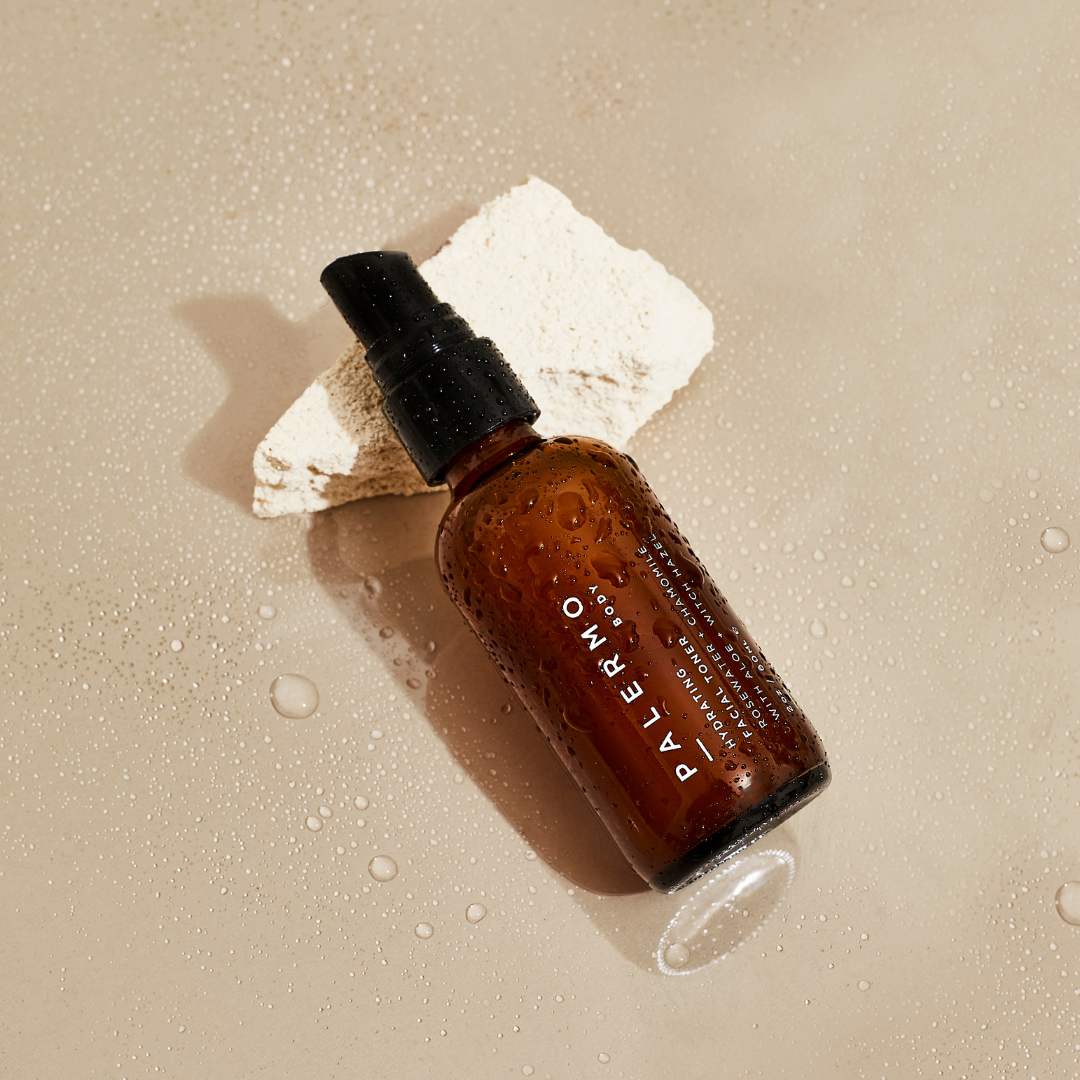
Step 1: Start with a freshly cleaned face. Spritz your face with your Hydrating Facial Toner and follow up with the Regenerative Facial Serum—now you’re ready to begin your facial massage!
Step 2: Start with your neck and swiftly move upward towards your face, repeat about 5x’s.
Step 3: Next, move onto your chin/jawline. Start in the middle of your chin and sweep out to your ear. Repeat that motion about 5x’s.
Step 4: Move on to the cheek area. Start around the bottom of your nose and draw out to the middle of your ear. Make sure to use the tool to apply gentle pressure on either side of your cheekbones. Repeat about 5x’s.
Step 5: Move to your under eye area, making sure to be very gentle! Do the same out and upward motion, sweeping towards your temple and hairline. Repeat about 5x’s.
Step 6: Next, gently stroke your brow bone, going outward towards your temple and hairline. Repeat about 5x’s.
Step 7: Next move onto your forehead. Some people will stroke upward in the middle going over your Third Eye because it’s known to help with insomnia and to be incredibly soothing. You can also start at the center and move towards your temple—whichever feels best for you. Repeat about 5-10x’s.
Step 8: Next, you want to “dump” all of that lymph you’ve moved to the outer parts of your face. Start at the center of your forehead and follow the outer parts of your face, moving everything back down the sides of your neck. Repeat about 5x’s.
Like stated before, there are so many different ways to do this and it’s really just personal preference and depends on what feels good for you. So this brings us back to if it’s something you should be using or not. If it’s something that’ll make you feel good, then we say to go for it! If it feels like an added burden to your routine, then maybe skip it. We’re all about self-care over here at Palermo, but we’re definitely not fans of an overcomplicated routine that stresses you out. With that being said—do you think this is something you’ll try? Let us know in the comments below! As well as any questions you may have.


